
Symplocos Mordant – 100% Natural
Symplocos are aluminium hyper-accumulating trees. The only remaining stands of Symplocos Cochinchinensis in eastern Indonesia are endangered. The Bebali Foundation work with the Indonesian Department of Forestry and local indigenous forest communities to facilitate the sustainable collection of fallen symplocos leaves.
Download: Recipe for Printing with Symplocos
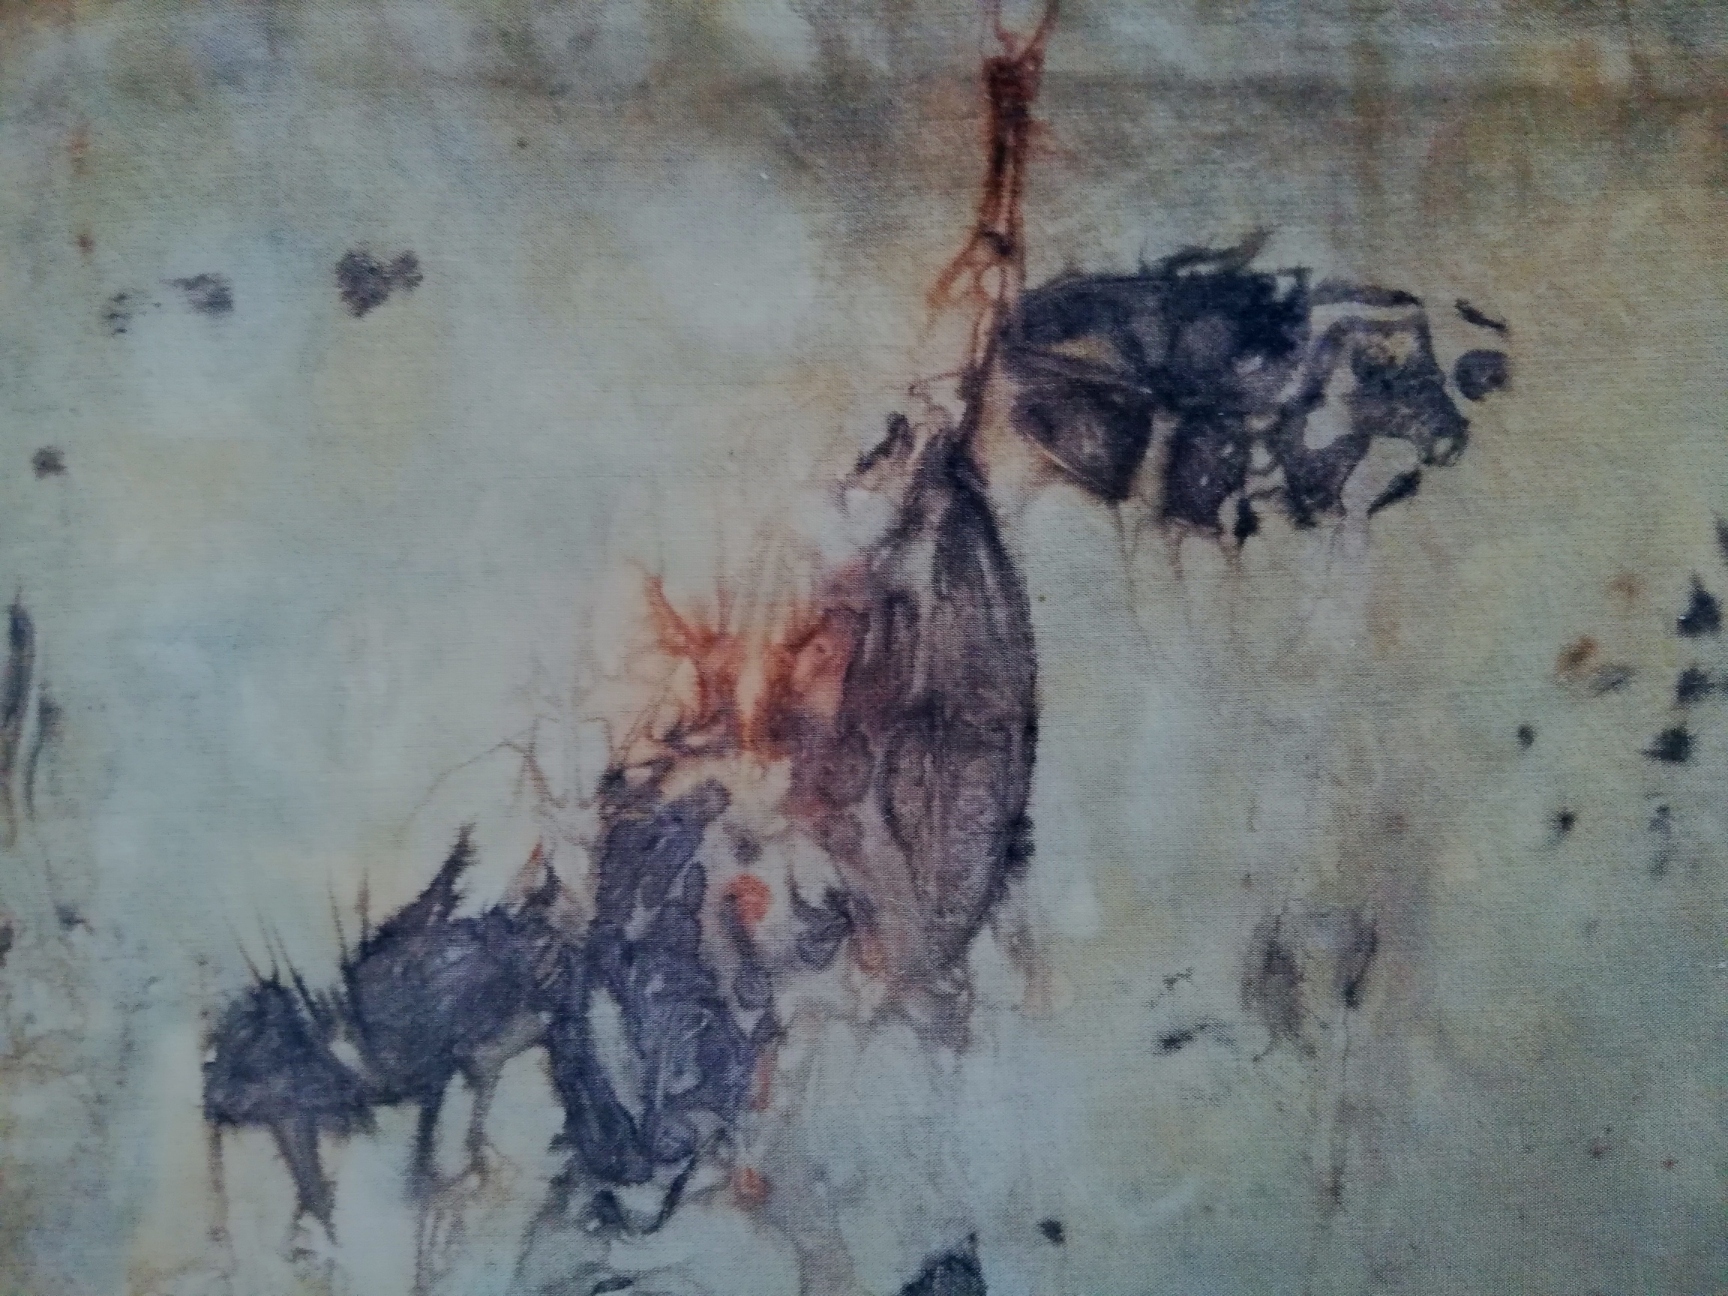
Eco-printing Tips
- Always remember safety first. Wear good quality rubber gloves, masks and goggles when working with chemicals. Set up your pots in well-ventilated areas, this includes mixing chemicals. Ensure your gas or electric heat supplies are setup safely and pots are stable.
- Store chemicals out of reach of children and clearly label containers.
- Always have a first aid kit handy and know what to do should the worst happen.
- Mixing your own mordants saves money. Suzanne Dekle has some great instructions on how to make your own.
- Wash your fabrics or yarn in PH neutral soap.

Provenance Tea Cosy – To fit a 2-3 Cup Teapot
What you will require…
- 2 balls of Provenance recycled silk sari yarn (50m) or 1 hank of spun recycled cotton sari yarn (50m)
- 6mm knitting needles
How to Knit Two Sides of the Tea Cosy…
- Cast on 21 stitches and work 32 rows of garter stitch (knit every row) this will create one side of your tea cosy. When the side is complete thread the stitches onto the remaining yarn and pull tight to gather; secure ends of yarn.
- Repeat this process for second side.
How to Assemble Your Tea Cosy…
- First weave in the tails of the yarn.
- Pin sides together at the bottom and top of the cosy and fit over your teapot.
- Pin to fit around the spout and the handle making sure the openings are quite loose as this makes the cosy easy to put on and take off.
- Using a blanket stitch in either embroidery thread or ordinary sewing thread stitch sides around both openings.
- With the left over yarn make loops to decorate the top of the tea cosy.
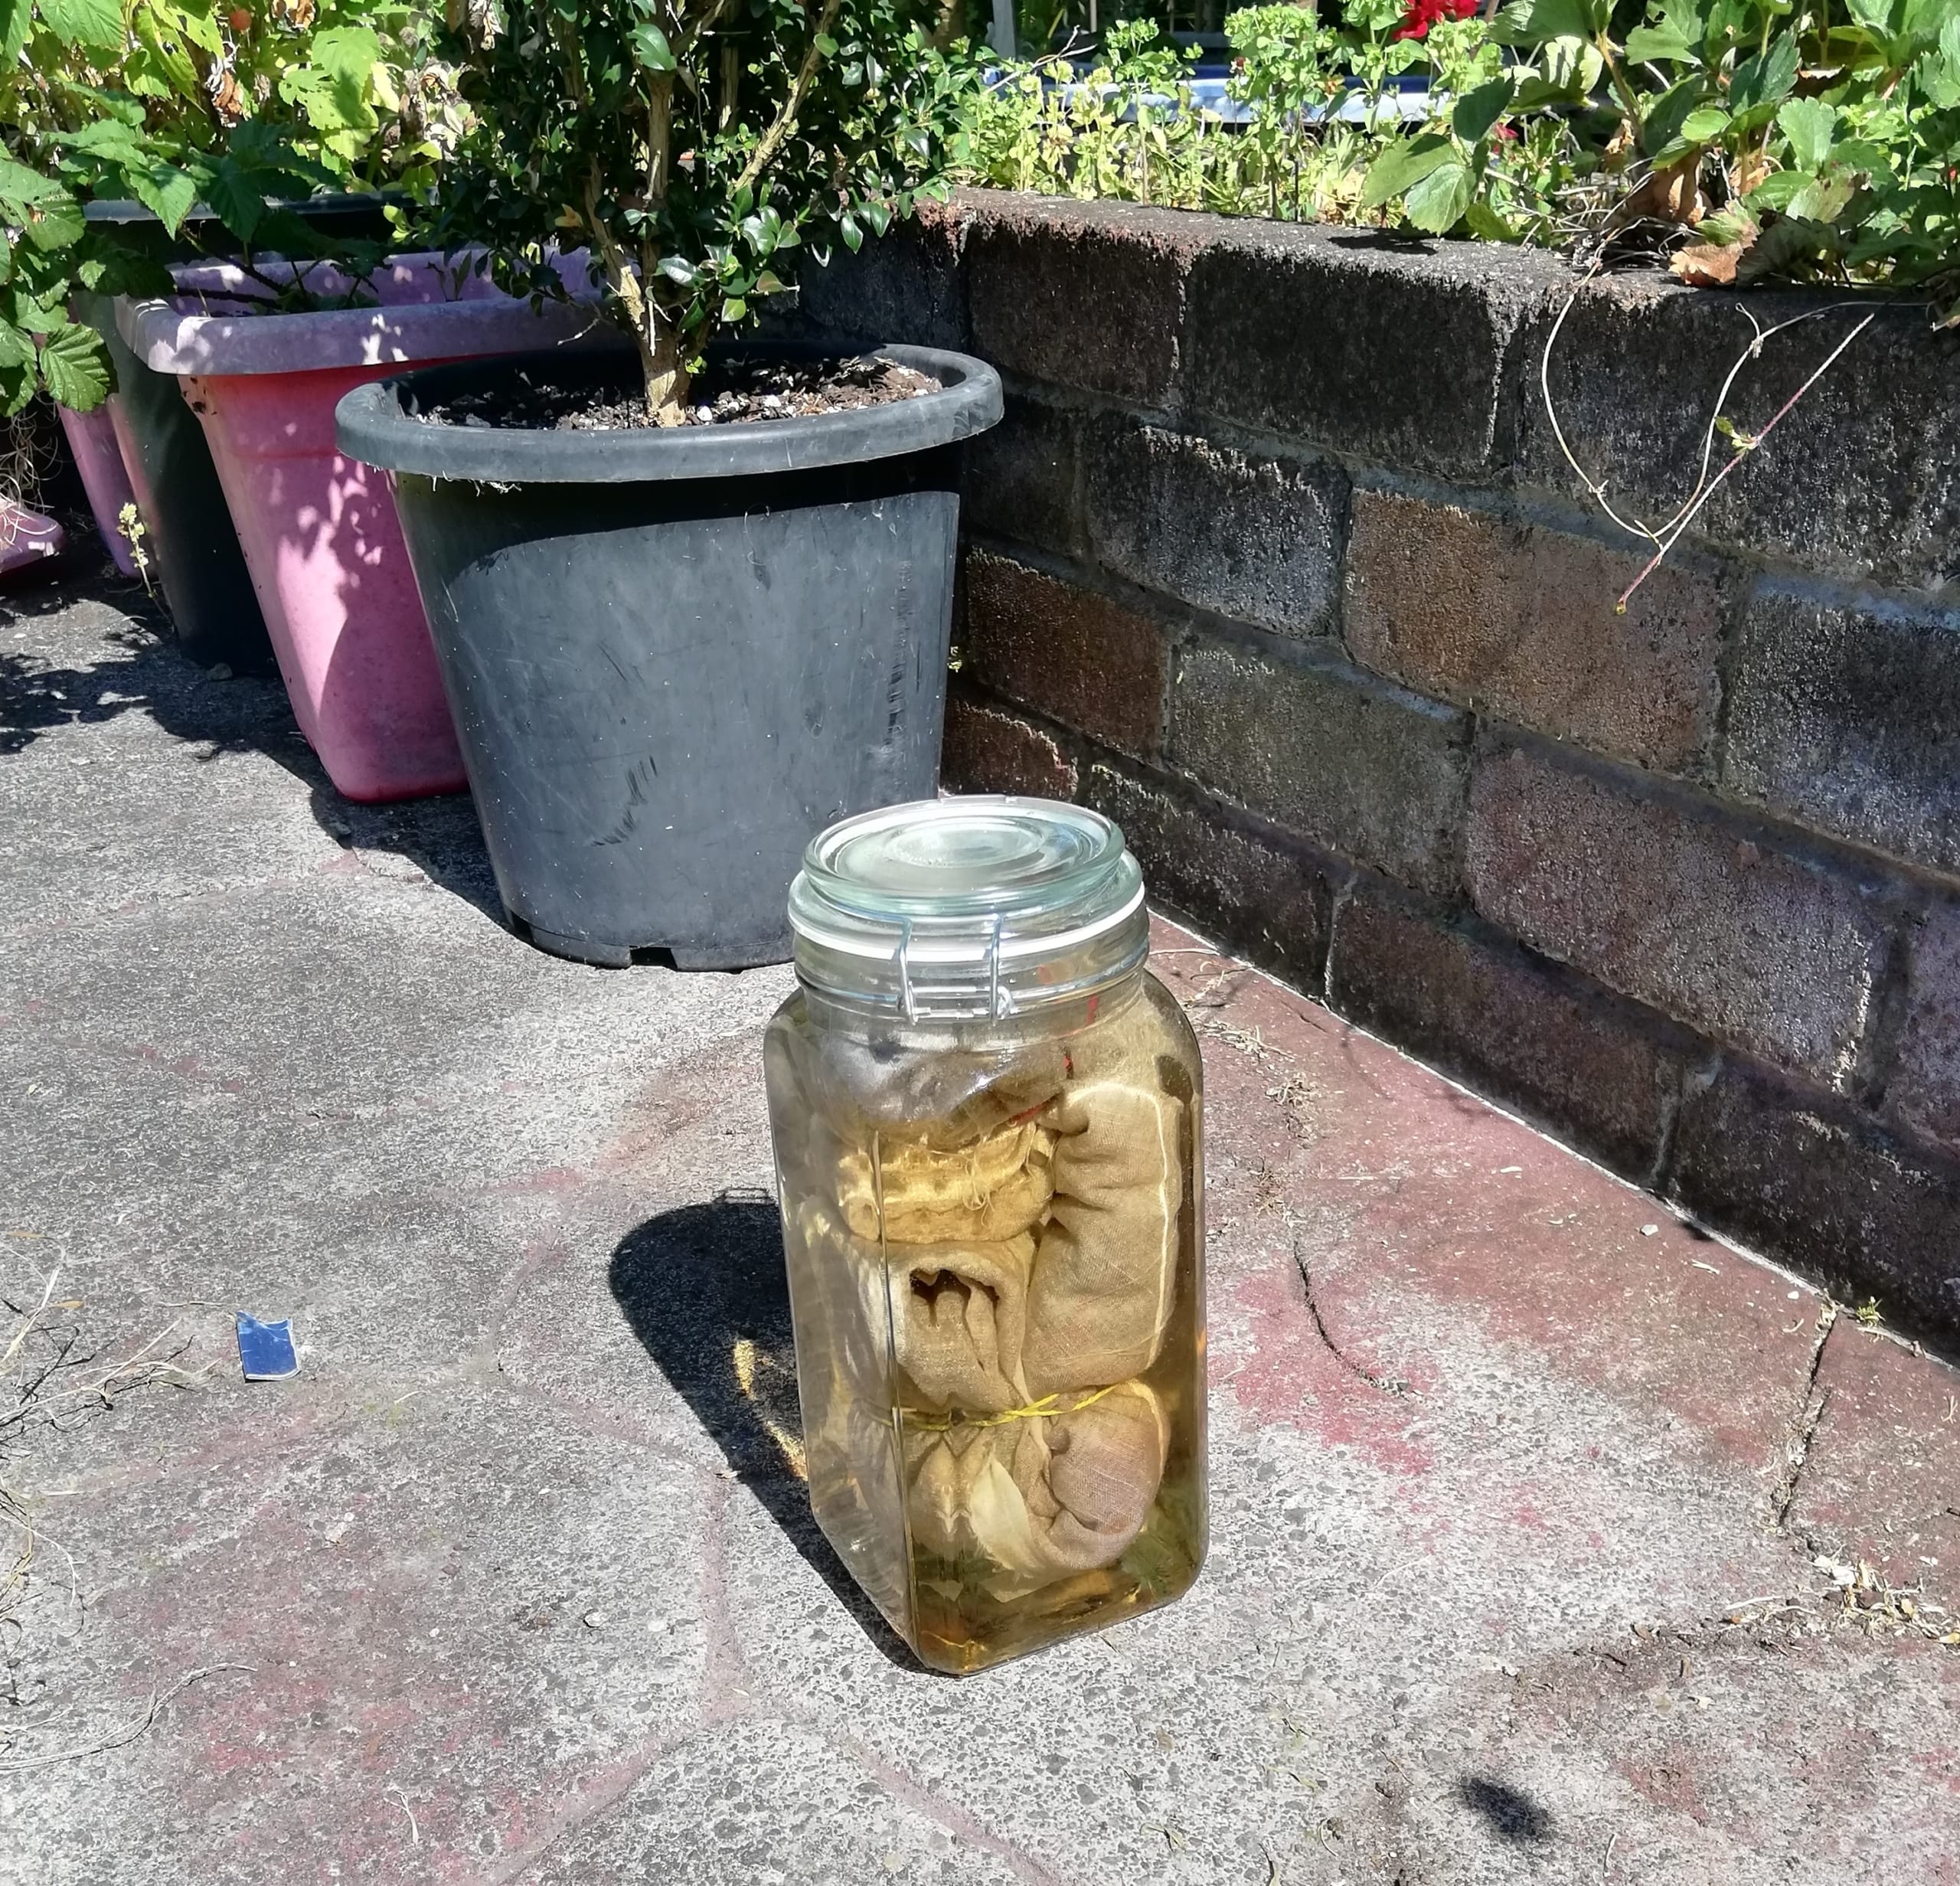
Solar Dyeing with Kids
This is such an easy dye technique anyone can do it!
All you need is…
- A jar with a lid that can secure to the top or alternatively wax paper & string/rubber band
- Water
- Natural fabrics, yarn or thread
- Plant materials
- String
I always find onion skins both yellow and red transfer to the fabric really well but you could try leaves from trees, shrubs and ferns. Eucalyptus leaves are great to try and you can even use old rusty nails or bits of copper, even tea leaves are worth sprinkling over the fabric. Beetroot and red cabbage also do well, and so do red berries but I often can’t bring myself to use them when all I want to do is eat them! Give anything a go!
- Wet out your fabric, yarn or thread so it is damp; you can mordant these in advance if you wish to.
- Place your natural materials on to your fabric.
- Fold or roll your fabric up with the natural materials inside and tie with string. You can also do a layering of natural materials and fabrics etc until the jar is full.
- Fill jar with water to cover everything and secure the top.
- Set in the sunniest position you can find so the water is heated as long as possible; turn every couple of days so that every part of the fabric gets exposed to the sun.
- Leave for as long as you can; a month is great if you can stop the urge to open the jar and see what the fabric looks like!
There is lots of information online about solar dyeing and printing.
Have fun!!